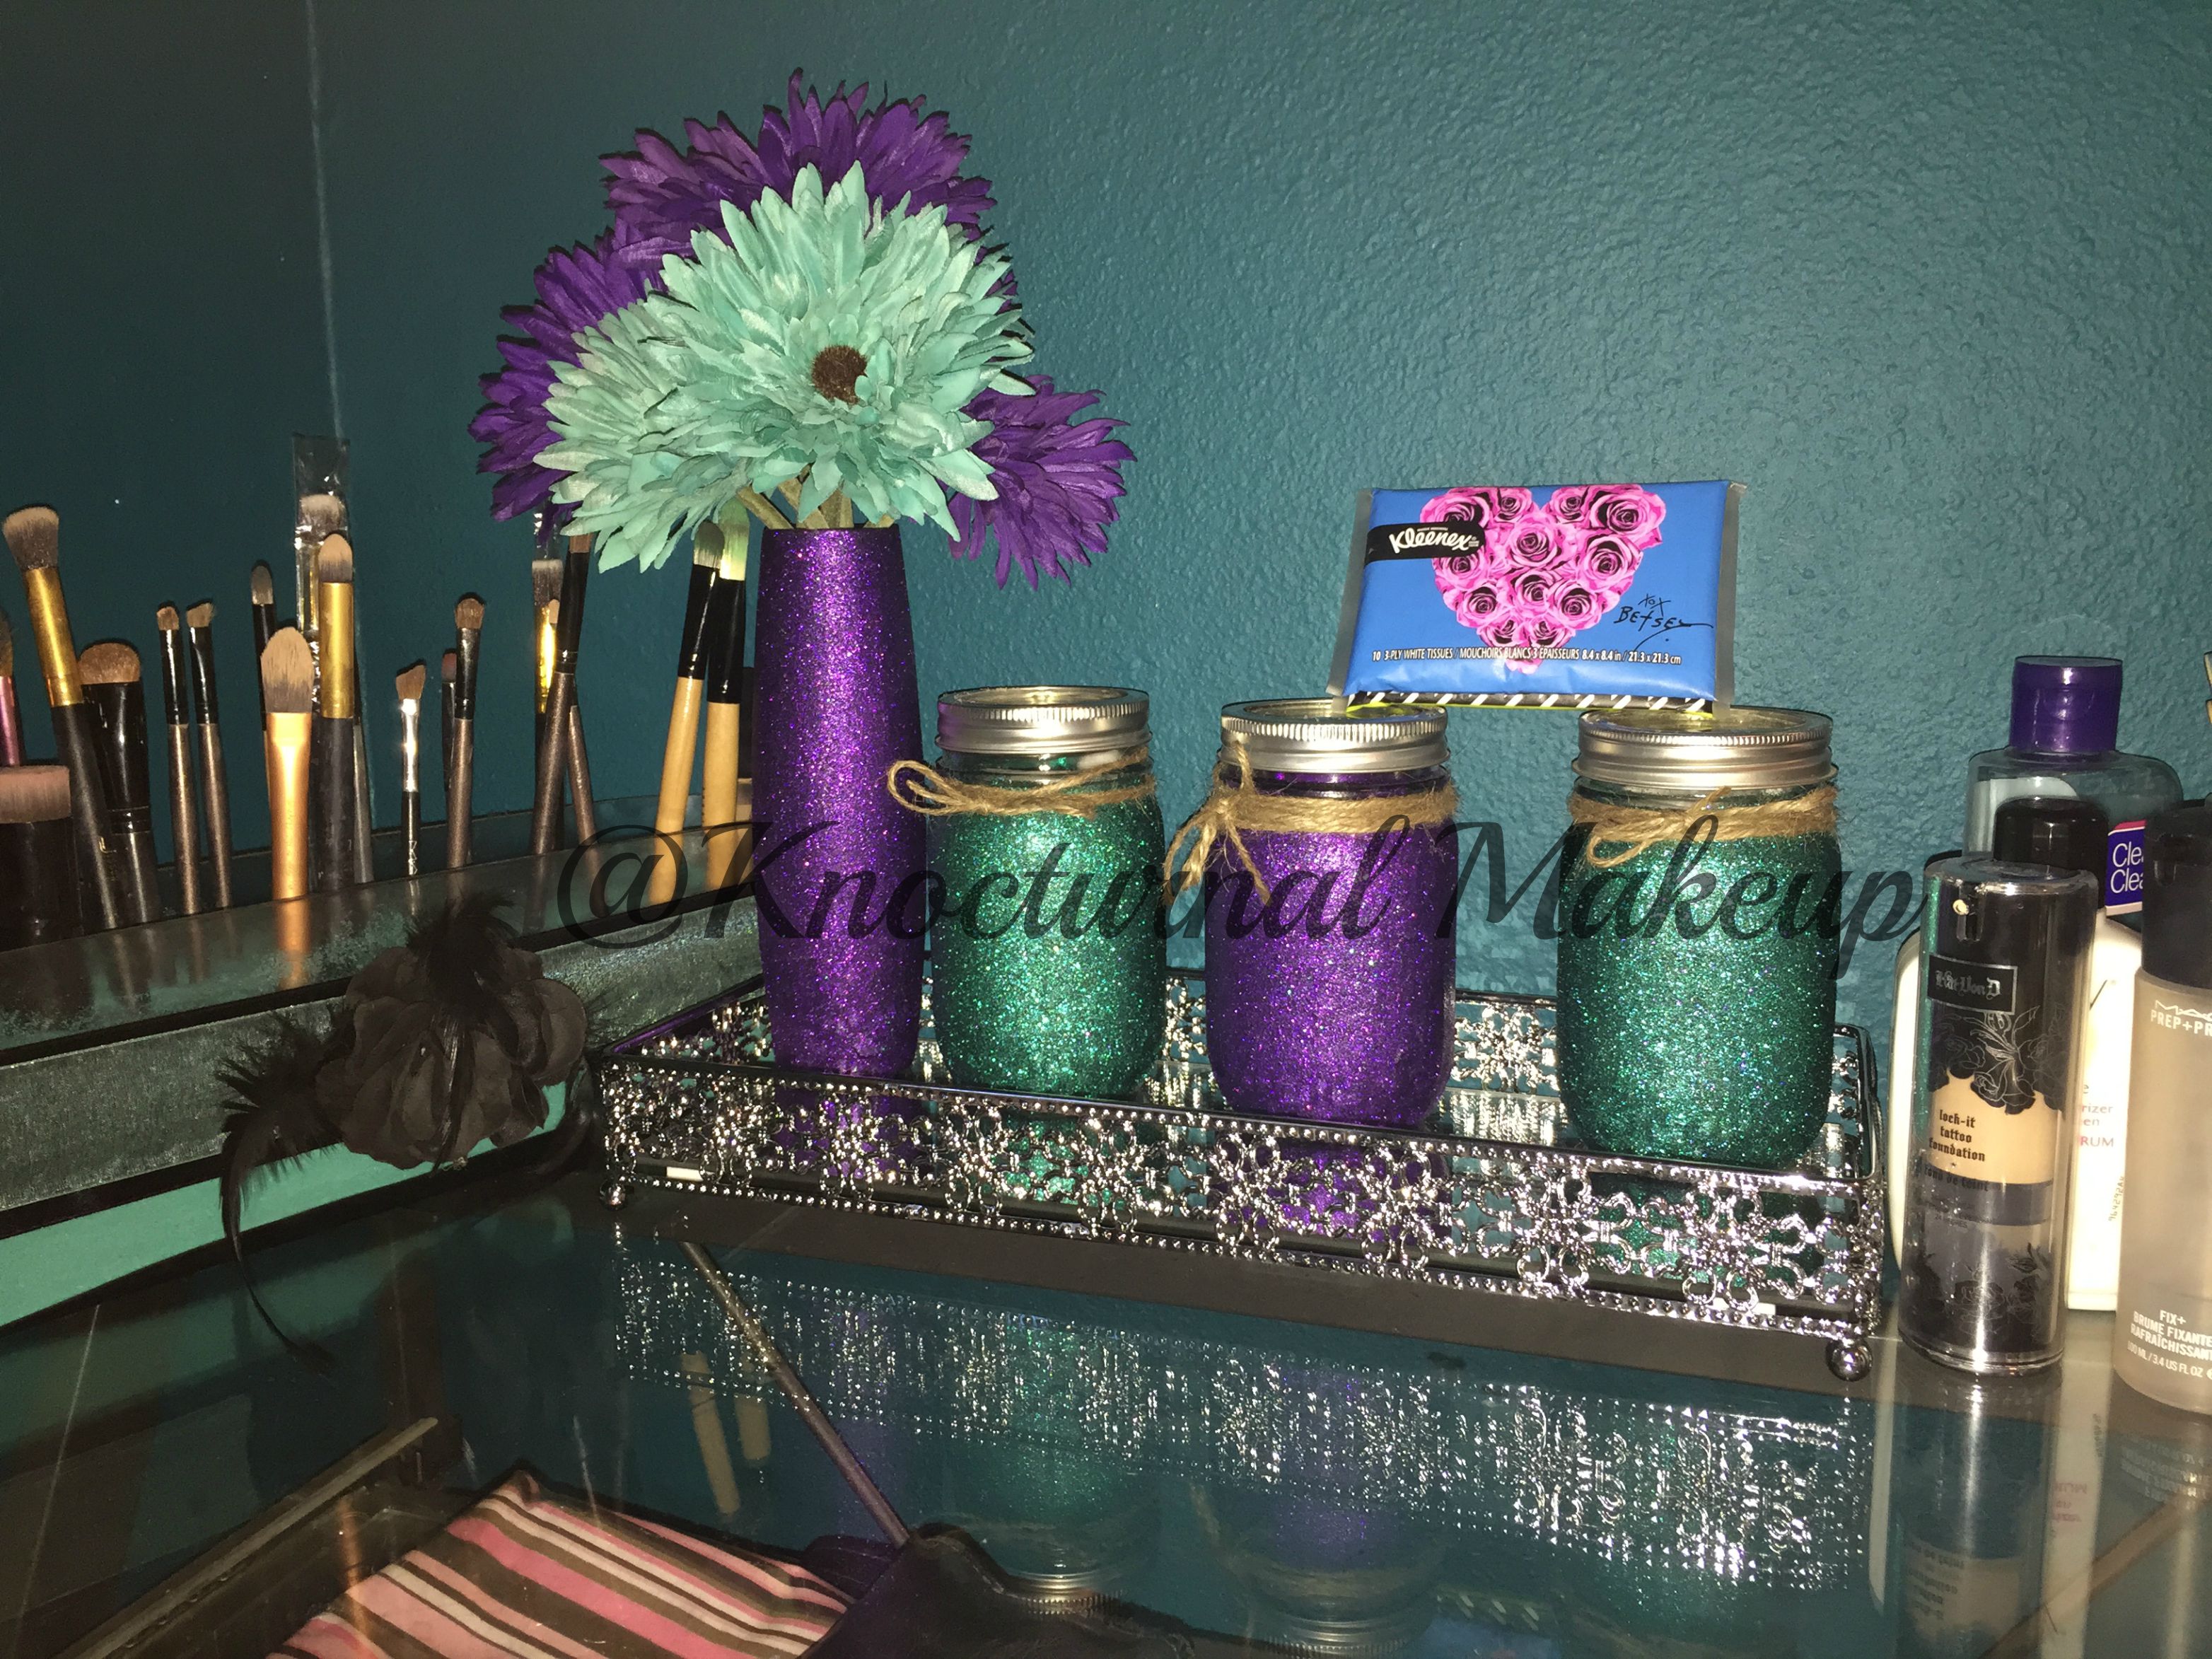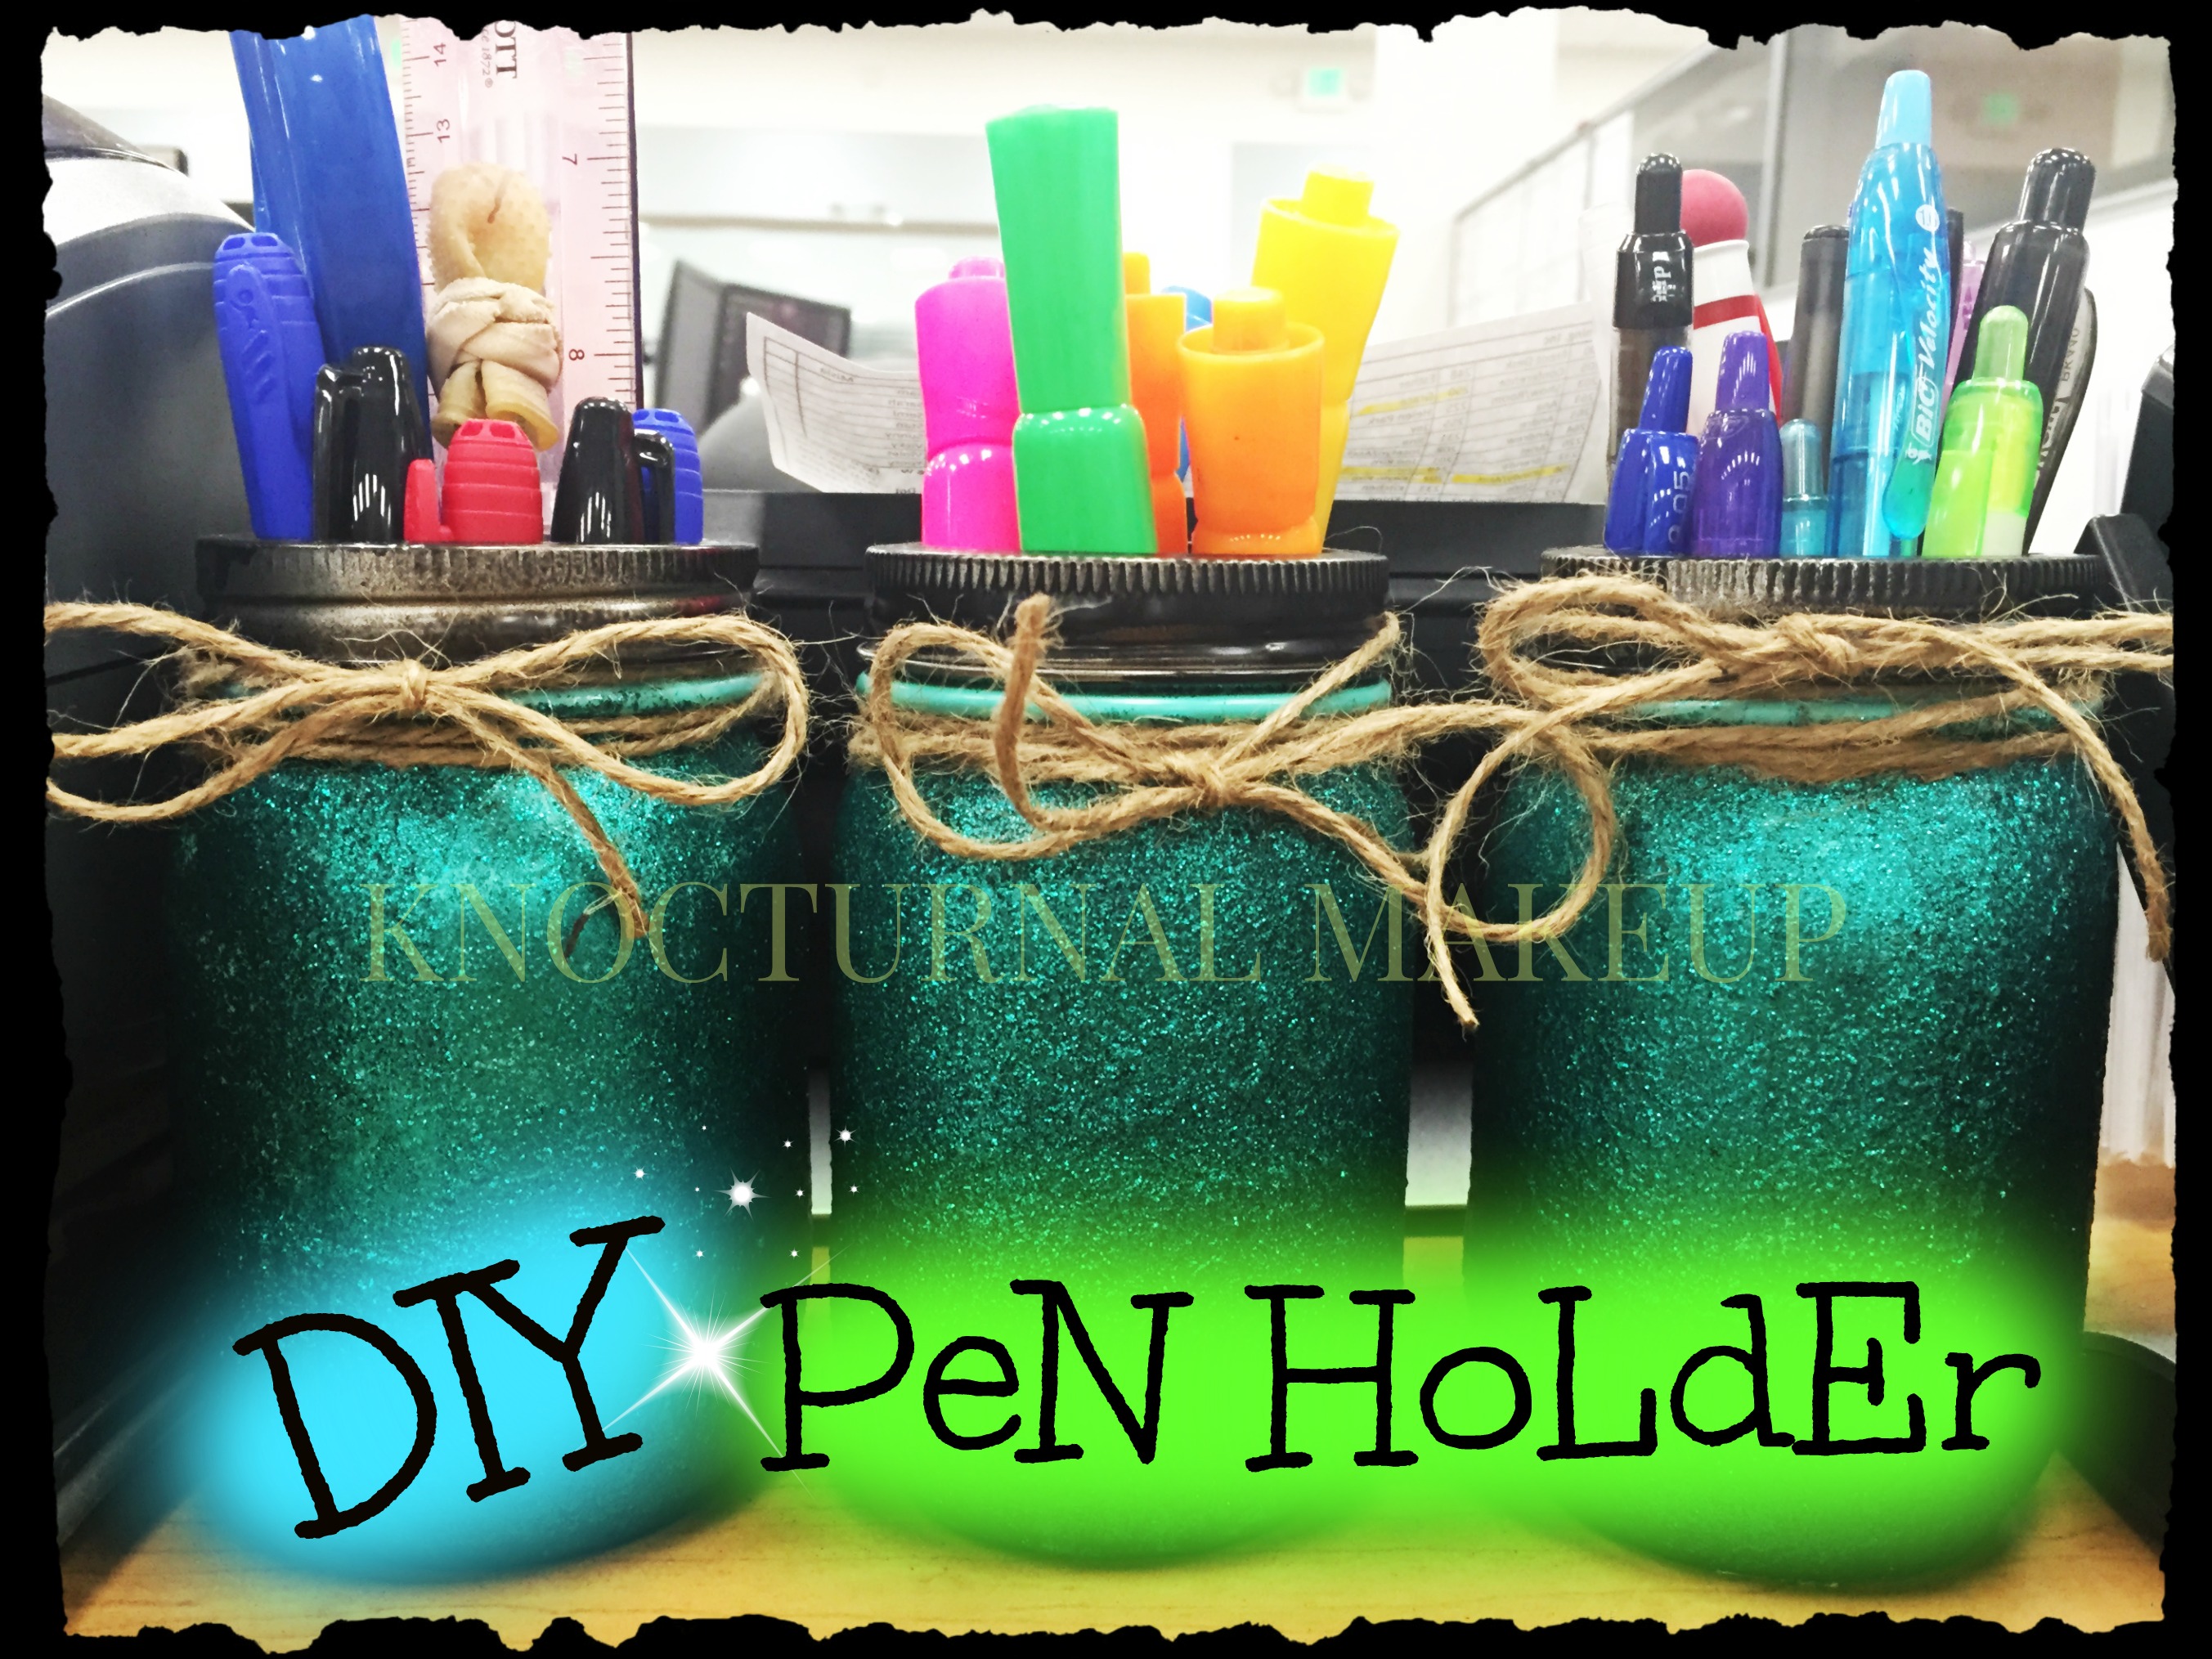
Hey Guys! am back with ANOTHER super easy to do DIY pen holder/ Brush holder. I love it because its super simple and easy to do you can use it for many different things and also you can decorate it any way you want. The ones I did were for my desk at work to hold my pens, highlighters, markers and scissors and stuff like that. I also made some for my vanity desk at home. Most of the stuff I used I got it at Michael’s some of the stuff I already had at home. I listed all the products I used down below. So give this post a like if you guys enjoyed and let’s get started!
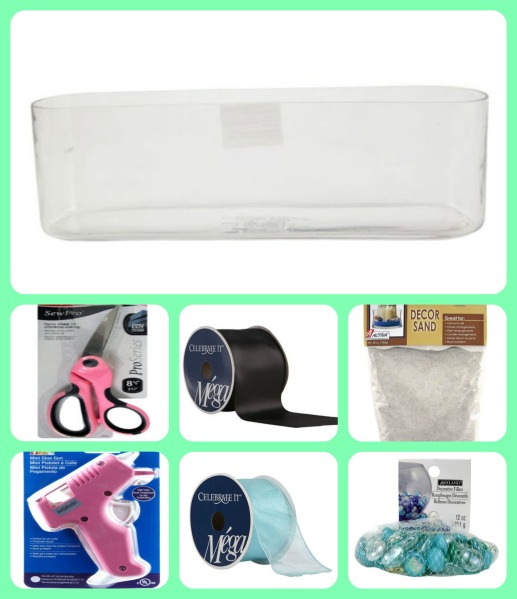
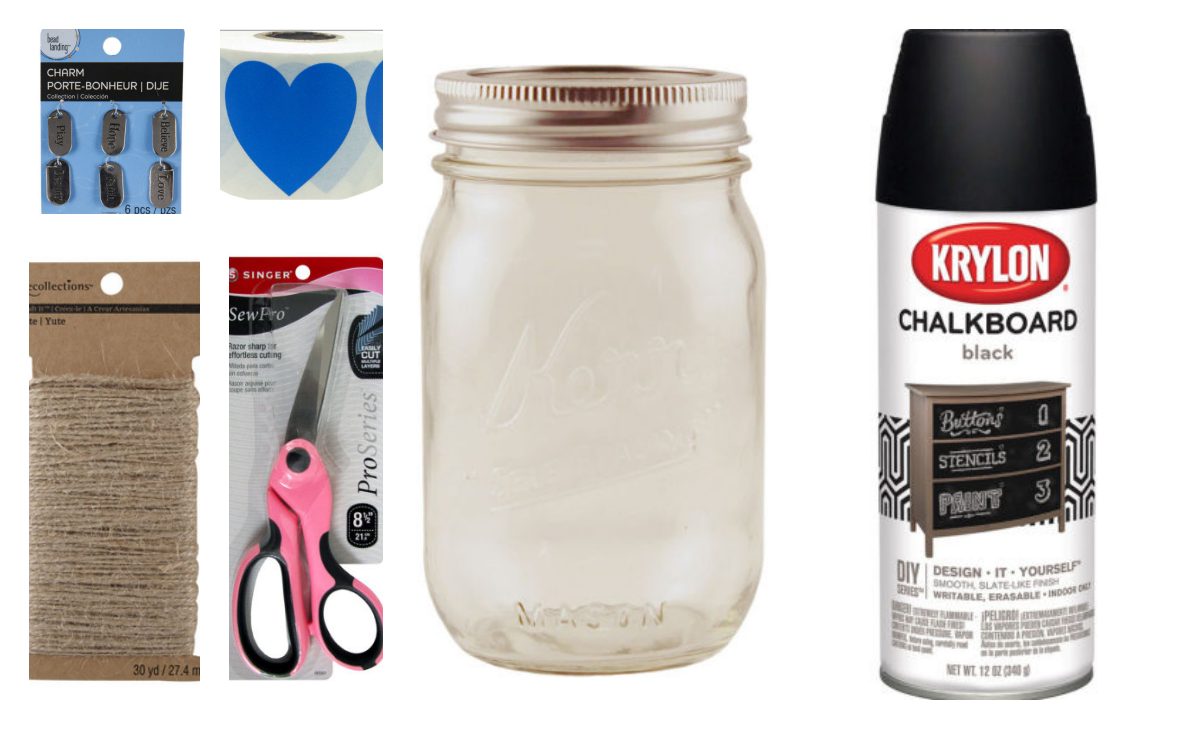
Materials
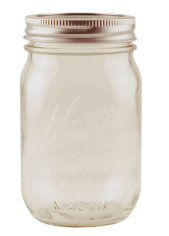
Mason Jars (3)
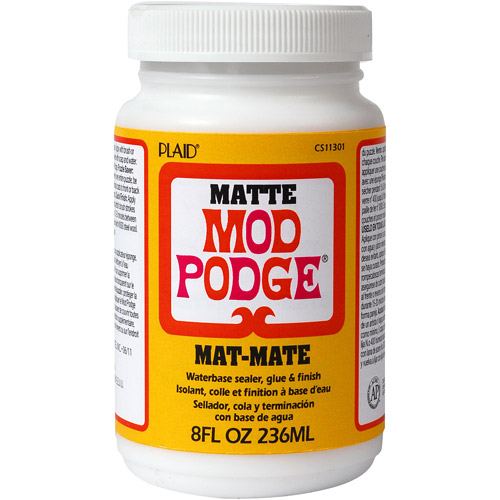
Mod Podge
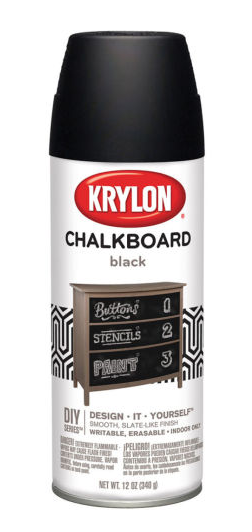
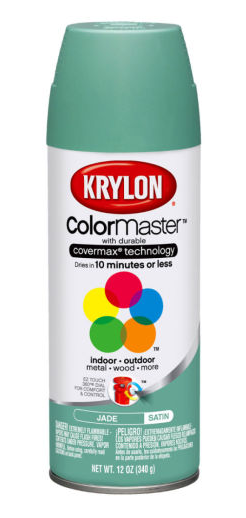
Spray Paint
Foam Sponge (2)
Fine Glitter (any color)
Cardboard/Shoe Box
1.First i started with a clean Mason jar.i got the regular size one since i would be using it for just pens and markers and stuff like that. But depending on what you would be using it for you can pick whatever size works best for you.

2.This step is optional but i like the way it look better. So again depending on the color you pick would depend on the spray paint you use. I picked Mint/sea-foam green color. I spray painted about two coats on the jar. I let it dry for about two hours in between coats.
3.So after its completely dry i took my foam sponge and mod podge (i used the Mat-Mate) and applied a thin even layer of the mod podge.
4.Then before it started drying i sprinkled thin layers of the glitter.i found that the fine glitter is easier to work with then the thick chunky glitter. I used Emerald from Recollections for the teal/sea-foam one and for the purple i used Muse from Recollection as well.


5.Once i fully apply the glitter all over. I shook the mason jar inside a shoe box so all the excess glitter will fall inside the box so i can reuse it for the next one. Then i let it dry for about 2 hours.
6.Once it is dry i went back in with the Mod podge and applied a thick coat evenly. Make sure you take your time with this step so you wont get and streaks so it wont look uneven. Once i applied it all over i placed them on a paper towel and let them dry over night and i was done.